How to create a custom WordPress capability?
Roles & CapabilitiesLess than 1 minute
When working with AAM, follow these steps to create a custom capability:
- Before creating a custom capability, it is advisable to switch to the "Administrator" role. This ensures that website administrators always have access to the complete list of capabilities. In AAM 6.9.33+ any newly created capabilities are automatically assigned to the Administrator role to ensure access integrity for the highest privilege role.
- Navigating to the "Capabilities" tab on the AAM page.
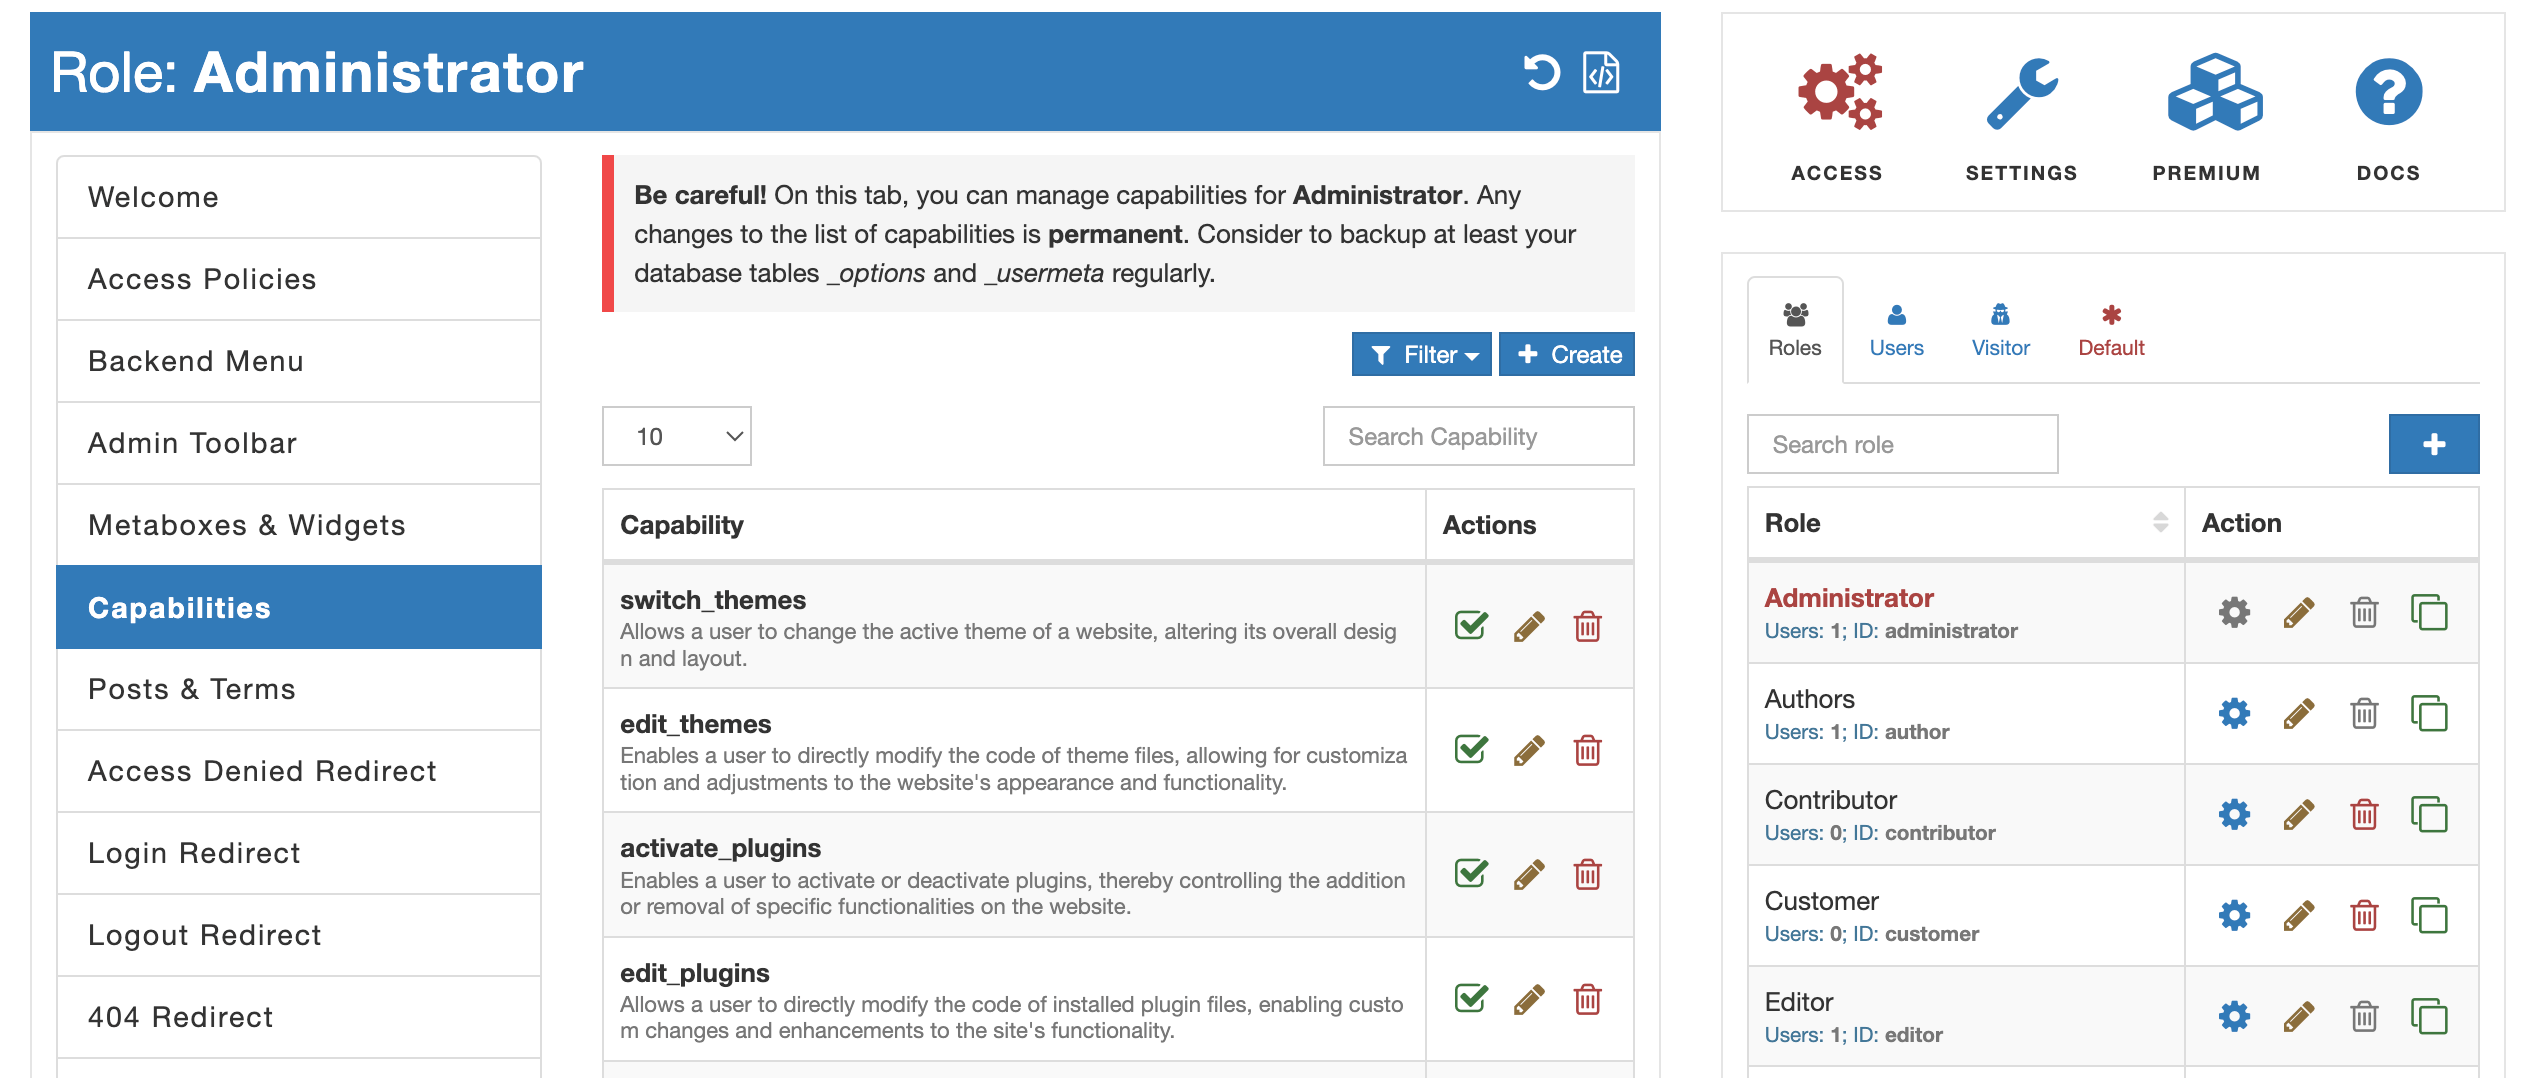
- Select the "Create" button. This action will open a modal where you can define your custom capability.
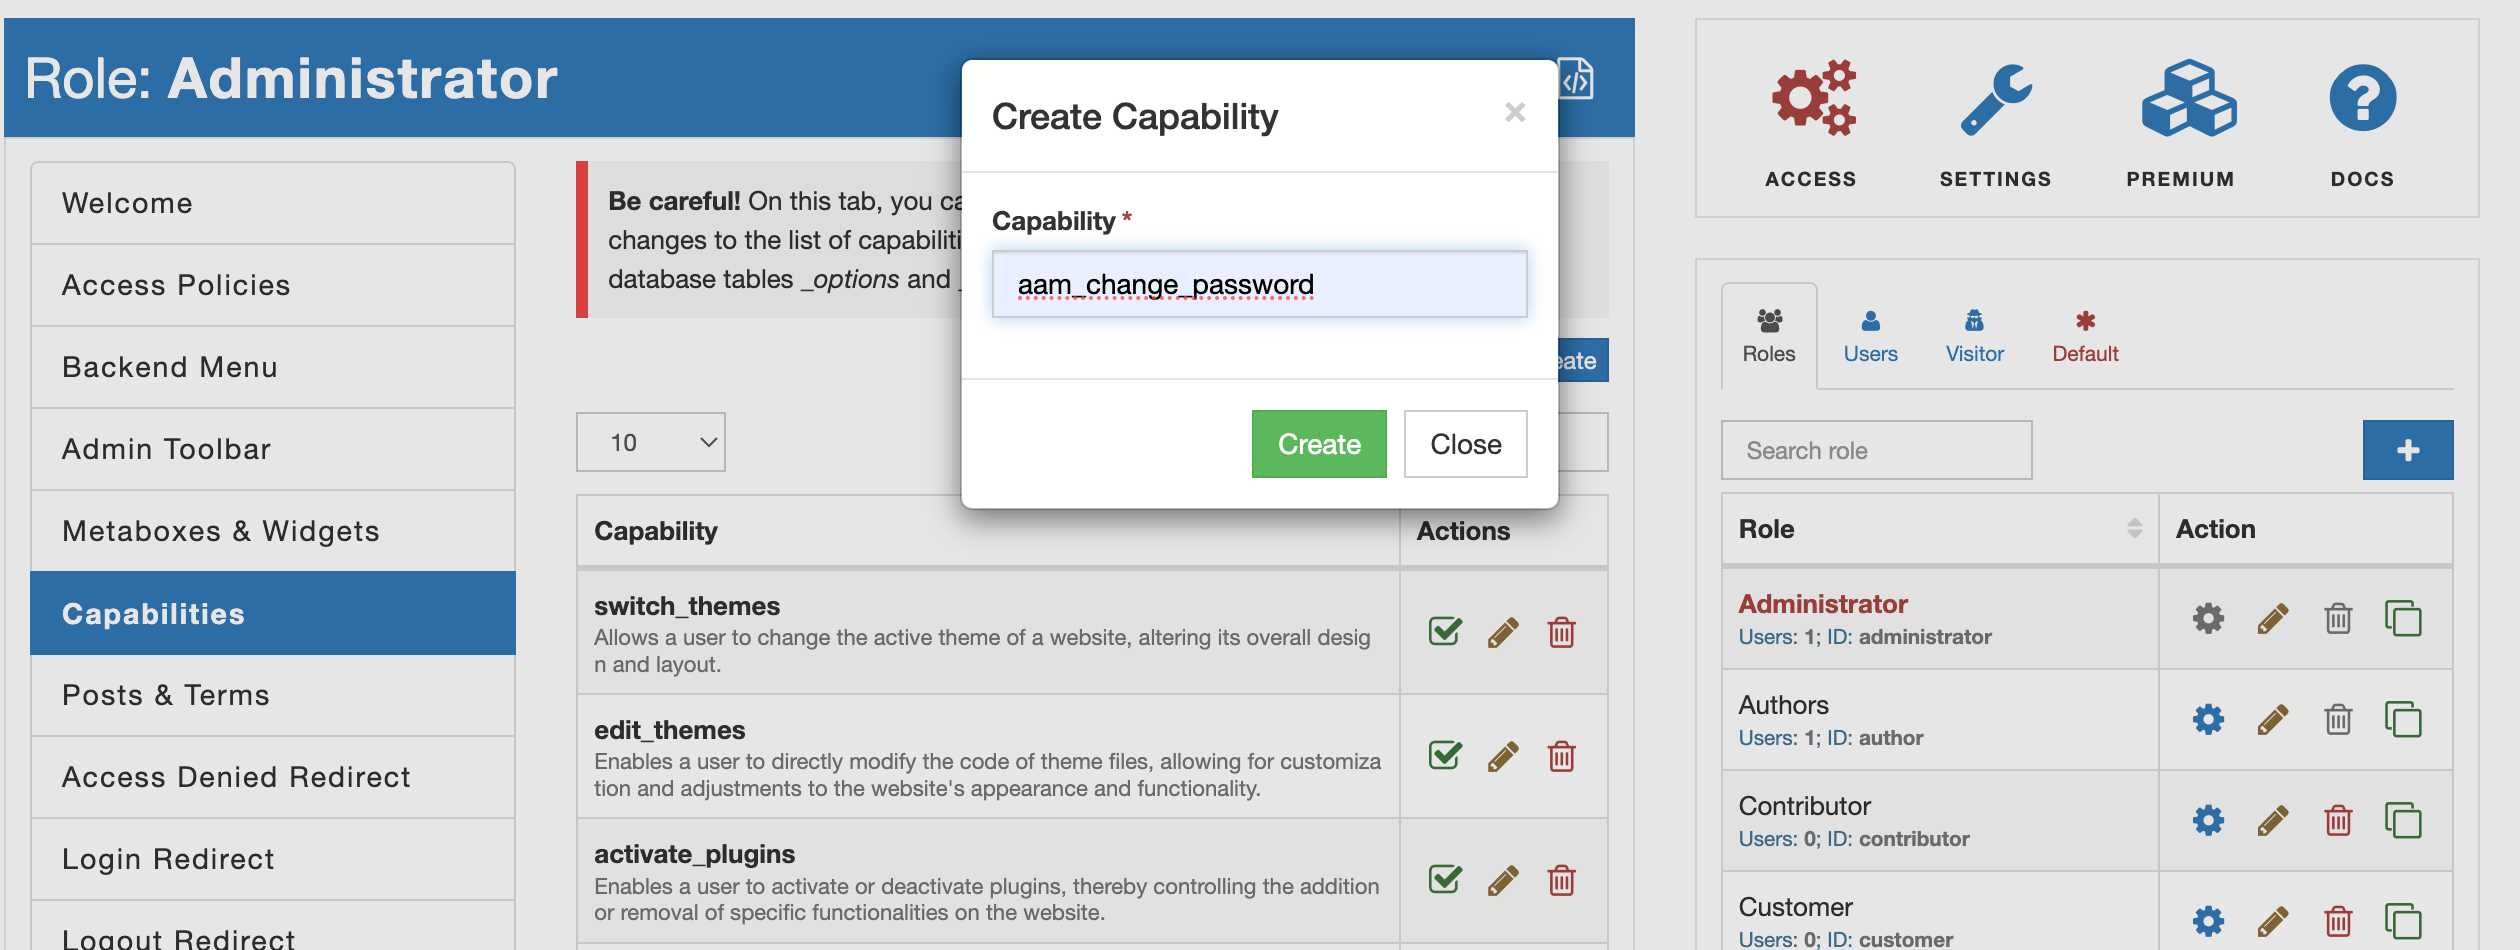
- Enter you custom capability and select "Create" button.
Naming convention
It is considered best practice to follow a specific naming convention for your custom capability. Name it in all lowercase letters and separate words with underscores. For example allow_manage_orders or delete_editor_users. Following this naming convention makes it easier to manage and organize capabilities.
Capability names are sanitized
AAM uses the WordPress core function sanitize_key to clean up input string. This function ensures that the key is safe and valid by removing any unwanted characters and converting the string to lowercase. Here is a breakdown of how sanitize_key works.
- Lowercase Conversion: The string is converted to lowercase.
- Allowed Characters: Only alphanumeric characters (a-z, 0-9), underscores (_), and dashes (-) are retained.
- Replacement of Spaces and Special Characters: Spaces and other non-allowed characters are removed.
 Virtual Assistant